Today was a perfect day for doing a very satisfying task. First of all it was raining (yay!!! my plants are happy!), and secondly, medium ground beef was on sale for a great price. I bought two of the family size large packs of ground beef. (I've come back to edit that one pack was 1.3 kg which converts to about 3 pounds). You want medium ground beef for burgers because that extra bit of fat gives it flavour and juiciness.
I used two large mixing bowls, emptying one package of ground beef into each bowl so I would have plenty of space for adding ingredients and mixing them up.
Into the beef, you want to add:
-ketchup and barbecue sauce. I like Diana Sauce original because it is not too "hickory" and it is fairly thick. I don't measure, but I think anywhere from a half a cup to three-quarters of a cup in total of ketchup / barbecue sauce per big bowl of ground beef will be enough.
-chopped onion and egg. I used almost a whole chopped onion divided between the two bowls, and mixed up three eggs and divided the mixture between the two bowls as well. The egg is important to help bind the burger meat together.
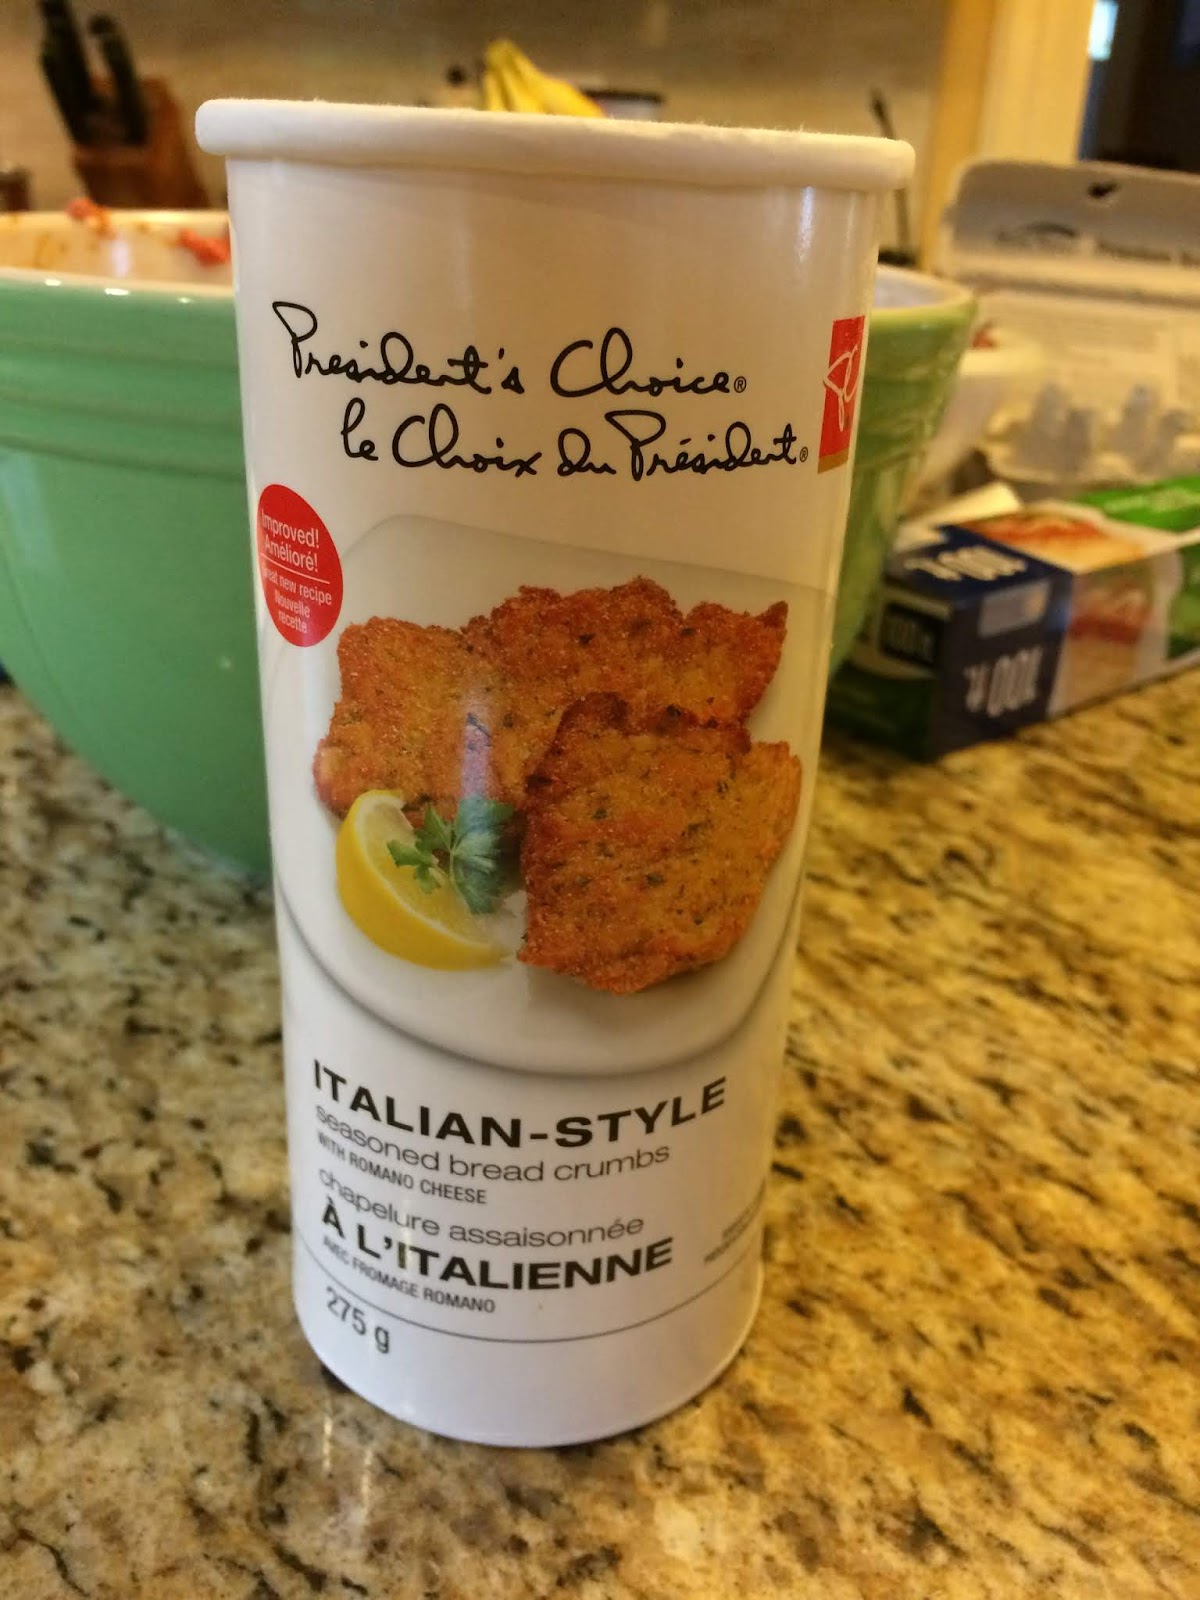
-Italian style bread crumbs. If you aren't familiar with this type of bread crumb, give it a try. Italian style crumbs include lovely herbs and parmesan cheese as well as bread crumbs, so you get extra flavour. You might use about a cup of bread crumbs per bowl.
-burger seasoning. I like even more flavour and discovered this mixture a while ago. This takes care of any salt or pepper you need to add, too. I took the lid off and probably dumped in at least a tablespoon in each bowl, if not more.
The next step is to wash your hands and get in there and mix it all up. You want to make sure you have incorporated all the bread crumbs and that the onions are evenly distributed.
Now it is time to rip off a whole bunch of sheets of wax paper and cut them into "squares". Don't worry if they are more rectangles than squares. The purpose of these is to stack your burgers between pieces of waxed paper to make it easy to separate them after they are frozen.
You will end up with piles like this. You'll need more wax paper squares than you think, if you are doing a big quantity of burgers.
I like to use a metal measuring cup to form my burgers. This is a one-third cup. It is a good size for a generous burger that suits most people. By using a measuring cup, your burgers will be the same size and will cook at the same rate.
Lay down a wax paper square, press your beef mixture into your measuring cup, invert the measuring up over the wax paper and give it a downward smack. Your beef will then slide out onto the wax paper.
Press your burger down, maintaining a circular shape. You don't want it to be too thin, however, so that it holds together and grills well.
You can get more finicky than this, rounding off the edge of the burger, but I think a homemade burger should look like a homemade, assembled with love, kind of food!
Place another square of wax paper overtop of your burger and add it to your stack. And here's the key!!
You always want two squares of wax paper between the burgers so that you can easily separate them when they are frozen. Wax paper will not stick to wax paper. The last thing you want to do, which trust me, I have done with purchased burgers and even hot dogs, is to try to pry a knife between frozen burgers and accidentally slip and hurt yourself.
I like to put a stack on a paper plate (perfect way to use up your seasonal / special event leftover paper plates!) to keep them flat, so they don't freeze in an awkward shape when you cram them into your freezer (if it's anything like mine!), in large size zip lock freezer bags. Try to squeeze out at much air as possible before you zip them up!
My two family size packages of ground beef ended up making about thirty burgers altogether - delicious, consistent in size, and ready for grilling whenever people drop by in the summer. Like purchased burgers, you can cook them from frozen. A great way to spend some time on a rainy day.
Just so you know... I'm not being paid by President's Choice, or Gray Ridge Eggs, or French's or anyone else, but they are welcome to, if they wish, ha ha!!